Tuesday, February 28, 2012

batch watermarking using picasa

I had a few questions on my last post about "batch watermarking" photos for use on your blog. As I said before, I think it's a good idea to watermark all your photos because there are some really dishonest people out there who will try to pass YOUR idea off as their own. TRUST ME.

I like using Picasa because it's FREE and EASY! In my "other life" I am a photographer and use Adobe's Lightroom for my professional pictures because I add a graphic watermark to my photos. For now, we'll use Picasa.

When you're in your Picasa gallery, select the photo(s) you'd like to watermark. See the screenshot above. To select multiple pictures click the first picture, go to the last and as you click on the last, hold down the "shift" key to highlight them all.

Go up to file,then scroll down to the option "export picture to folder".


This pop-up menu will come up. Up near the top, just click where you want your watermarked pictures to go. Down on the bottom there is a spot where you can check "watermark". Click the box, then right below it you can type in your web address/blog name, etc.


...and THAT'S IT! I learned the hard way, I hope this helps some of you out so you can learn from MY mistake. And please, pin away from my blog. I love seeing the things you extrapolate from my lessons and make into your own!

Monday, February 27, 2012

"pin"spiration


Like many of you (I'm sure!) I've been "pin"spired by quite a few things I've seen on Pinterest! Most of the time if there is a lesson of mine that is an original, I'll put a "pin it" button on the bottom of the post, but now, I'm pretty much granting full pinning rights from my blog to Pinterest because I have this handy dandy "permission" pin over there>>>. You can get it, too, if you like your stuff pinned!

One thing that I have done more of lately, however, is watermark my photos that I use in blog posts. I'll never forget the first time I saw one of my students' projects on Pinterest and it had been snatched with no credit given to me (or to my student, I should say!) and had been repinned 57,000 times. Yes, 57,000 times and someone passed my exact photo off as their own....so I've been watermarking more. It's a good idea that you do it, too.

While in Art we're all "borrowing" ideas from one another, from a Master, a children's book, something in nature, or an idea on Pinterest....our artwork belongs to our kids. Make sure you've given yourself credit!

There are a lot of photo editing programs out there that will "batch" watermark your photos for you. For ease at school I prefer to use Picasa, and at home I like Lightroom. If you need help watermarking your photos in either of these programs, leave me a comment with your email and I can email you instructions!

Thursday, February 23, 2012

watercolor o'keeffe's

I love working on O'Keeffe projects every year...she's a great AMERICAN artist to discuss and her work really makes my kids LOOK at what they are drawing. Sometimes it is just so hard to have students draw what they SEE and not what they THINK THEY SEE.

Last year we did some beautiful O'Keeffe's using a viewfinder and magazine/calendar pictures. This year we used the same basic technique for drawing the flowers, enlarging the pictures onto a 12x18" sheet of watercolor paper.


This year I wanted to do something a little different, and decided to focus the project on contour line and contoured details. I had them use black pen to outline their drawings, then use watercolors to paint orgainic shapes over the tops of their flowers.
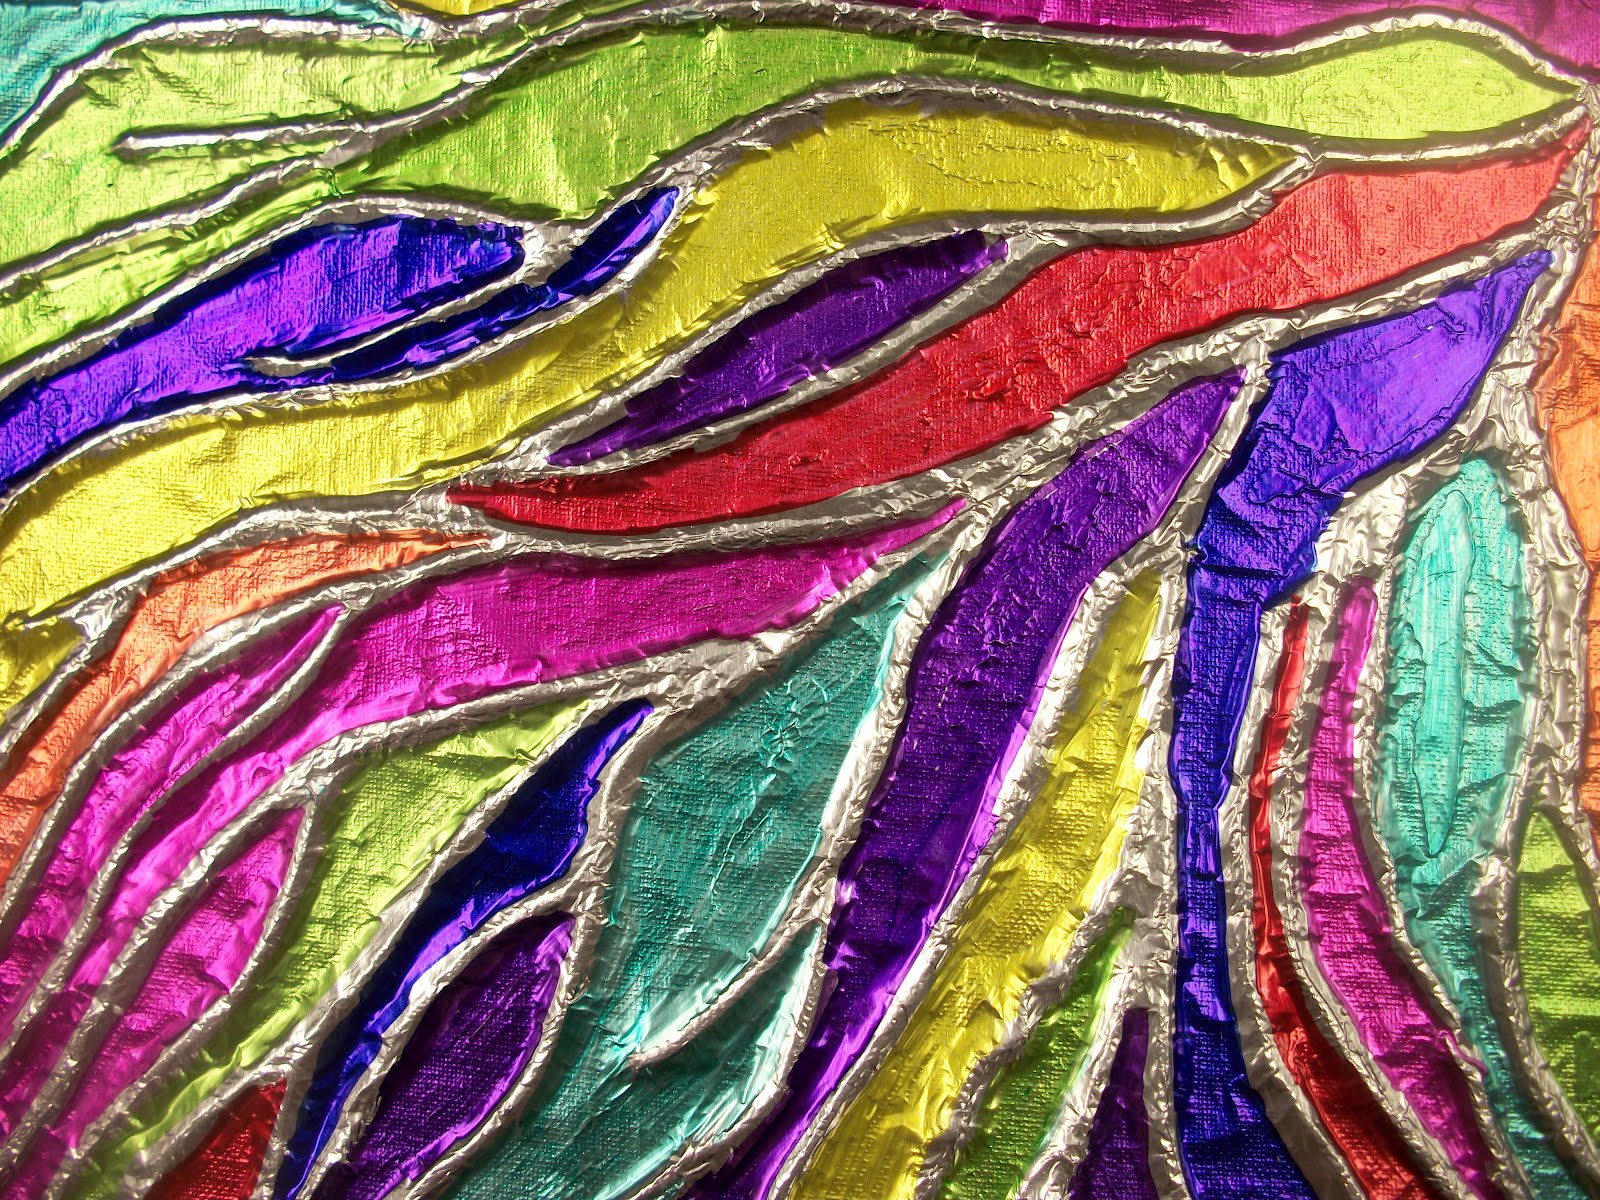
This was my "pin"spiration, this wet-on-wet flower I saw on Etsy. The shop is called "Terrace Gallery".


Some students really understood the concept of organic-vs-geometric shapes, and some just had fun with color. Either way, I'm loving the results!


As usual, thanks for stopping by!

Pin It

picasso's guitars

Our Inspiration: Violin Hanging on the Wall. Possibly begun Sorgues, summer 1912, completed Paris, early 1913
Pablo Picasso (Spanish, 1881-1973)Oil, spackle with sand, enamel, and charcoal on canvas25 9/16 x 18 1/8" (65 x 46 cm)Kunstmuseum Bern. Hermann and Margrit Rupf Foundation

We used ALLLLL sorts of nick-nacks and doo-dads for this project, and I suppose the sky is the limit! For the guitar bodies we used Folia corrugated colored cardboard. Lots of painted papers were used for different pieces and parts, and the backgrounds were made with tempera and texture palettes.

The only "direction" I gave them was that they had to incorporate music notes and a piano keyboard into the background somewhere. The rest was up to them!

These were made by third graders, and took 2x 55-minute classes. The finished size is 18"x24".

Wednesday, February 22, 2012

makin' macchia

My kindergartners are making these beautiful "Macchia" in the style of Dale Chihuly! These are SUPER duper easy to make and every single one of them turns out breathtakingly beautiful.


Before we even started, I showed them a portion of the video "Chihuly in Action" so they could see how glass is actually blown and made. We then viewed some macchia from the Macchia Loop on his website. We talked about how "macchia" means "spotted" in Italian and about the process we would use to create Macchia of our own without using the dangerous supplies Chihuly uses to create the real deal. The kids loved how Chihuly initially called his Macchia series "the uglies"!!!

You will need:

3 coffee filters per child

Water-soluble markers (Crayola work perfectly!)

HEAVY spray starch

cups or yogurt containers

rubber bands

mat-board for final display


*I found that 3 works nicely for a display and they were able to complete this many in one class period. Obviously, vary this for your needs!


Process: Have students use marker to color designs on the coffee filters. Make sure you have something underneath (scrap paper or place mat) to catch the colors because they bleed through. Lay completely colored filters over cups and secure with rubber bands. I allowed my students to spray their own projects with the starch. They loved to watch the colors bleed together! It takes about 6-8 hours for the macchia to completely dry. It takes about 6-8 hours for the macchia to completely dry. When they were dry, we took them off and arranged them on a piece of 8x8 matboard!

You could extend this project in many different ways--


  • Make a "ceiling" of Macchia similar to the ceiling at the Bellagio in Las Vegas

  • Have students use color schemes on each different coffee filter (complimentary, secondary, primary, tertiary, hot, cool,etc)

  • Have students re-tell the macchia-making process or write about it (cause and effect)

*We used our iPads and an app called Fotobabble to re-tell the process of creating the Macchia. These Fotobabbles were displayed with the students' work. More on that later!


Happy Macchia-making!

Saturday, February 18, 2012

Matisse Vases


This Kindergarten project was inspired by Henri Matisse's "Purple Robe with Anemones" (above). I love the colorful, playful, graphic background and the wild flowers in the vase.

I think this was my FAVORITE Kindergarten vase ^^^. I LOVE the anemone-like flowers. It seems he really "got it" (in a kindergarten-way!) It's so honest, isn't it?!


Here is another of my favorites for sheer beauty :)


We did this project on a 12x18 sheet of white, cut the vase out, made designs on 4 sheets of 6x9 colored paper, and glued the vase on.

Friday, February 17, 2012

a friday funny

Marcia from Vivid Layers had this Art Teacher Meme on her blog that I just HAD to share. Happy Friday, everyone!

Thursday, February 16, 2012

Blotto Butterflies

I've been on this "blotto" kick ever since Melissa at the Chocolate Muffin Tree re-introduced me to the wonders of blotto! My kids LOVE it too!


My first graders made these beautiful blotto butterflies in tall grass. We talked about proportion, and how (if we were bugs) big the grass and plants would seem!


Then the "blottos" came in to play, we had fun squishing the paint around to make our symmetrical wings. (Some got a little over-zealous and tried to put paint on top of paint, so the symmetry was off...experimentation, no biggie!)


Lastly, we used pipe cleaners as antennae. With our mega-spring-like weather here in Florida these days, these bright blotto butterflies are beautiful additions to our hallways!

tropical birds

I saw these birds on another blog (which one? HELP!!!!) and thought they were so adorable! My fifth graders drew the birds on black paper and traced their lines in glue.


They then used chalk pastel to color the background (and consequently make a HUGE, dusty mess in my classroom!!!)


I love how folk-artsy the birds look, and of COURSE I love the colors!


You definitely need two days for this project, day one is for drawing and tracing in glue (the glue needs about 24 hours to fully dry).


I did a similar project to this last year when my fifth graders made lizards. They really seem to enjoy using these mediums!

Wednesday, February 15, 2012

woven cities

I've been "Pinspired" by some adorable woven houses I've seen on Pinterest by Painted Paper. I've never really used painted paper as adornment for things...but let me tell you---I HAD THE BEST TIME SPONGE PAINTING these papers that we used for our weavings! (yes, I did it, not the kiddos).
For this project we used two 6x9 "looms" (made of paper) to create the houses. The kids then went crazy with the scrap box and used various painted papers, pieces of folia cardboard and oil pastels to create their little neighborhood!


(Would you like to ride on THAT tire swing?! Looks like an insurance claim waiting to happen!!!)


The kiddos then went to town using the splatter box to create their starry sky background. They had so much fun...I love all of the interesting details, and I LOVE the colors!

Pin It

Tuesday, February 14, 2012

happy heart day

Planned chaos. Those words describe this project to a T! (View exhibit A--above--methodical).

And Exhibit B, here, chaotic. Yes, these are my Kindergartners stamping used tissue paper tubes bent into hearts. We taped them to hold their shapes.

They also used crayon to create a "background" of lines!


As my Kindergartners say, "easy peasy lemon squeezy" lesson. Sorry I didn't share BEFORE Valentine's Day. DUH!

Friday, February 10, 2012

making art together

I've posted on the joys and successes my students have had creating collaborative circle paintings before....and I've now posted about the collaborative process on PreK and K Sharing!

Something magical happened while my students were creating these large panels...they innately learned to think like real artists and execute their ideas in a manner I've never seen before. Some students who feel like they "can't" (an inferiority complex I'm really struggling to help MANY of my students overcome, especially in the test-taking grades) now feel like they're accomplished, worthy artists. Thier "piece" has become part of the "whole". It's been one of those teachable moments on so many levels that I wouldn't trade for the world.


I've seen several collaborative murals popping up around the art-blogging world, and one thing has been consistent: the satisfaction the children have for a "job well done" means even more when they create something with their peers!


Please hop on over to see what else I have to say about this...or to post a link to YOUR circle paintings!
Pin It

Friday, February 3, 2012

foil embossing

This was a project that ALMOST never "was". I had envisioned something totally different, and was frustrated after I had the students start this and realized it just wasn't going to happen. Long story short, my fifth graders "drew" on canvas with glue and we were going to let the glue dry and paint monochromatically over the top.


It didn't work. I was CRUSHED! ALL THAT MONEY ON CANVAS---we had to salvage them! I saw some foil relief projects on Fine Lines and was so glad I did! She inspired me to have the kids go back over their original design with more glue and add yarn for more elevated designs.


We then used spray adhesive and laid foil over the top. They pressed the foil down around their yarn pieces to create that embossed look.


Lastly, they used colored Sharpies to color the recessed areas and left the embossed "lines" silver.


This was definitely one of those projects that promised to be an epic FAIL, but turned out to be a favorite amongst my fifth graders.


This project was the perfect mixture of perfecting the "process" of making art, along with the glorious "products" created. For a thought-provoking take on the subject of "process-vs-product", I invite you over to PreK and K Sharing for a good read. I hate when projects don't turn out the way I had envisioned....but I am ecstatic these exceeded any expectations I originally had!


Pin It


Somewhat Simple