As promised, a view of our "trip" to Hawaii! This year, my intermediate students are travelling around the US in search of Art From America. It could be recreating landmarks, landscapes, learning about regional artists, or emulating the work of artists.
While we were "in" Hawaii, my third graders did some lovely landscapes focusing on the grassy, mountainous terrain of the islands, complete with hot/cool color schemes. Funny how you can "teach" kids about certain things without them even knowing!
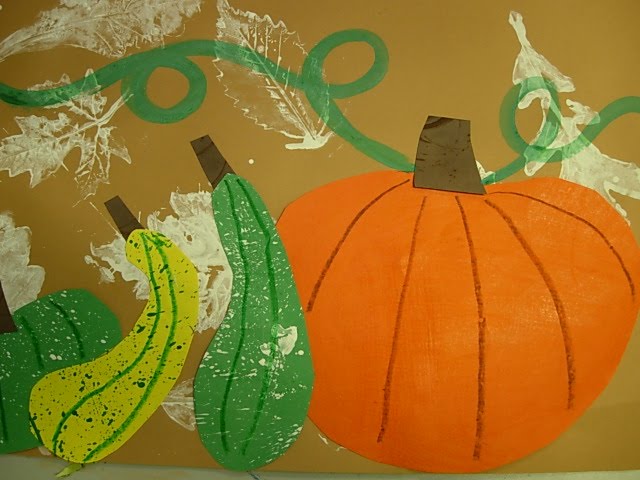
ohmigosh, sorry about the horribly blurry picture!!
What you need:
12x18 black paper
glue
oil pastels
Procedure:
This project will take two days. The first is for drawing the landscape and tracing those lines with glue. Because you cannot do anything to the paper once it's full of glue, I had the kids do an acrostic poem about Hawaii and a word search while it was "drying"...which, by the way, takes 6-8 hours.
When the glue dries, it creates a resist area over the pencil lines. The glue dries clear so it takes on the color of the paper (black) and doesn't allow the oil pastel to color over it.
On day two I show the kids how to blend oil pastels to create tints (especially on the "white caps" of the water). The land and water are colored with "cool colors" while the sun is painted with "hot colors". Aaaaah, nice to squeeze a little color theory in there while I can!
The results are magical. Of course you don't haaaaave to do a Hawaiian landscape! I've done this project with glue scribbles, portraits, etc. It's just the technique, but the landscapes look pretty spectacular (and fit right in with our Hawaiian unit!)
Happy creating!


 I love doing this project with my second and third graders. It's a great way to teach organic shape and symmetry...creativity and imagination are of upmost importance as well! This is also a great project to do at the end of the year when you feel like you're "losing" the kids--they always perk up when I tell them we're making monsters or aliens.
 Start with a folded sheet of paper. To make sure the pieces come out symmetrical and not in two pieces, I tell them to point the FOLD toward their BODY. They then write their names on the paper (if they have a shorter name with extra space, have them use their last initial too).
 I then have them draw a contour line around the top of their name. They cut on that contour line.
 When they open up their "name", they have a unique organic shape that resembles an alien or monster body. I have them draw details in pencil, trace in black sharpie, then color in marker.
 I have students say they make entire "families" of aliens at home (using Mom's name, Dad's name, their dog's name, their brother's name, etc.) This is also great for a "rainy day" project at home or at school.


 I know this isn't a new concept or anything, but sometimes it's nice to be reminded of simple lessons that can be pulled out of the "vault" in a pinch for a lesson. It's also a great way to teach symmetry, organic shape, contour line, geometric shape, etc. A win/win if you ask me!